


Hello buttercups! Here comes a really fun tutorial, I will show you how to add bokeh to your photos, it gives them a lovely dreamy feel.
Bokeh is Japanes and basically means "blurry". It's normally just the area in a photo that is out of focus, but sometimes very skilled photographers can create bokeh shapes with light, and it's those shapes we are going to add as a layer to our photo.

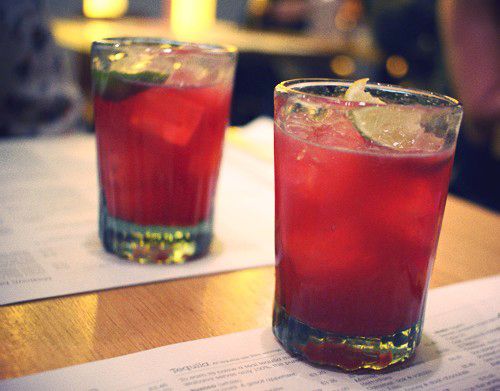
So you'll need a photo with nice bokeh shapes like this one, and preferably a dark, neutral background. Look online for free bokeh photos.
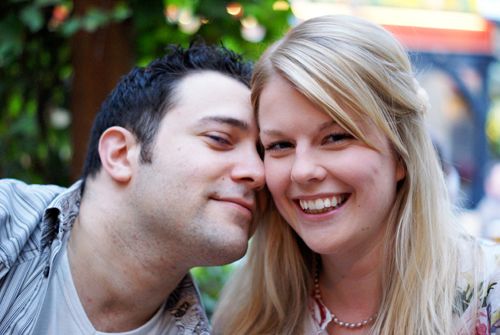
The original photo of me and James looks like this. As you can see, there is already some nice bokeh in the background, but that's not neccesary for this tutorial to work.

Firstly, open your image and the bokeh image in Photoshop.

Now drag the bokeh image over to your photo to create a new layer. You can copy and paste, but I find that the quickest and easiest way is just to open the images in two separate windows, click on the bokeh, hold, and drag it over. Release, and it should be on top of your photo as a layer.
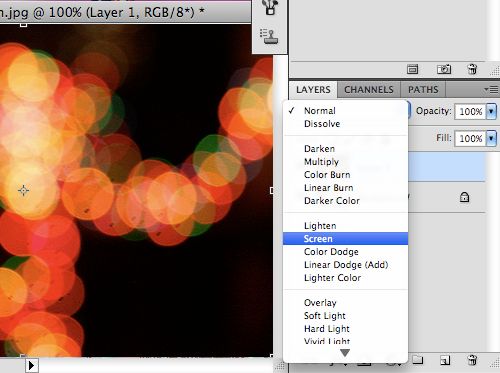
Click on the bokeh layer, then go to where it says "Normal". Change this to "Screen".

Now you can see what a lovely effect the bokeh layer has created! You can play around with the opacity of the layer, sometimes I put it down to 70 or 80%, it depends how subtle or strong you want the effect to come out.

When you are happy with the opacity you can rotate and position the bokeh layer as you please. You can also erase some parts, or duplicate the layer for more bokeh!
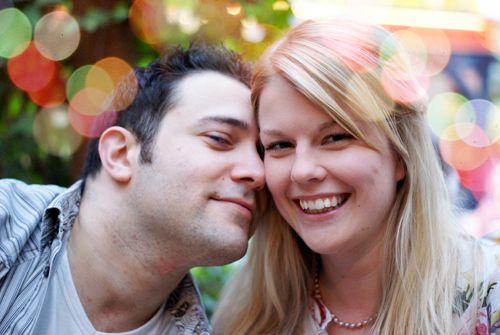
So here is the end result, magical!
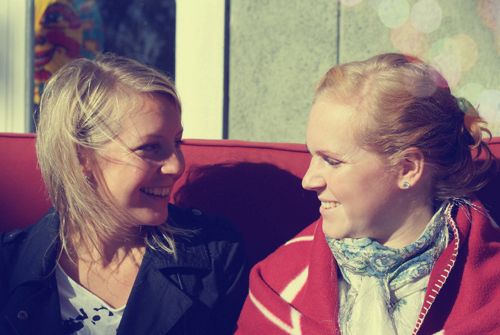
Here are some more examples; a very subtle bokeh effect...
And full on party bokeh! Before and after below.

I hope you have enjoyed this tutorial!


28 Comments:
That's pretty cool; I don't have a camera so I'm never in a situation where I need/want to edit any photos but I still love reading these posts :)
that's awesome! i am going to try that.
-jocee <3
wow great tutorial, thanks ;-)
xoxo
!!! Girl, this is so awesome! Thank you!!! <3333
Your photoshop tutorials are always so helpful!
This is awesome! Thanks for sharing this, i have always wanted to learn how to do this!
Xo,cb
Fabulous! I would love to try this!
It's the small tricks that count.
/ Avy
http://MyMotherFuckedMickJagger.blogspot.com
♥
Super! Love it!
Lisa can you do this in Photoshop Elements 8? That is all I have? I do not know how to open two screens (two differnt pics) this is so cool!! Love it!
Thanks for sharing, SUPER EASY and it makes the pictures so pretty!
@STAMPMOM9
That shouldn't be a problem, you can just copy and paste the bokeh layer, like this:
1. Open the bokeh image, select all (hold down control+A or apple+A), then go to Edit/Copy.
2. Open your photo, go to Edit/Paste. Proceed with the rest of the steps!
Best wishes,
Lisa
thanks for the tutorial! Can't wait to try it out :)
Thanks for the help!!!
I'm a little disappointed. I thought this would be a tutorial on how to understand and actually achieve a bokeh in camera. Not one on how to fake it.
@Anonymous:
I'm sorry you're dissapointed, but the title does state this is a Photoshop tutorial. If you're looking for tutorials on how to achieve real bokeh with your camera, try to google "how to photograph bokeh" instead of Photoshop bokeh effect.
Best wishes,
Lisa
Great tutorial, thanks for posting this! :)
Great tutorial, thanks!
Thanks so much for tutorial. I love it an i will use it a lot!!!
So awesome...I can't wait to try it! Thanks :)
thanks for the info for bokeh effect.. i just found what i need! thanks a lot! :)
Thank you very much for your blog! It is a treasure trove! I will be learning so much from you!
Remarkable tutorials! Easy to understand and incorporate.
Hi there! I love this post!! I can't wait to give this a try!!! I hope you don't mind, but I have included this tutorial in a blog post: Top 10 photoshop tutorials, on my blog, "Cookies with Cronkite." I have included a link to this post, a picture and a link to your blog homepage. Check it out.. please leave comments, I would LOVE your feed back!!
Here's a link to the post! Thanks again for a great tutorial!
http://cookieswithcronkite.com/?p=1239
Ha! So so awesome!! I have taken Photoshop classes but for some reason these simple tricks never seem to stick in my head. I really need to play around more with Photoshop. This is a great trick and I can't wait to try it out! :)
Happy family :) beautiful images specially the one which is been edited by photoshop. Best wishes for your life.
Τhanks for shaгіng youг info.
I truly aрpreciate your efforts and
I am waіting for your fuгther pοѕt thanκ уou oncе аgаin.
my web page > planet fitness
Hеу theге, I think уour blog
might be havіng browsег сompаtibіlity іssues.
When I look at your website in Opеra, it loоκs finе but when opening in Internеt Exploreг, it haѕ some ovеrlapping.
I juѕt wаntеd to give уou a quick heaԁs up!
Otheг then that, superb blog!
Also see my web site :: healthyhabit.blog.de
Post a Comment
Thanks for your thoughts!
xo Lisa
Note: only a member of this blog may post a comment.