


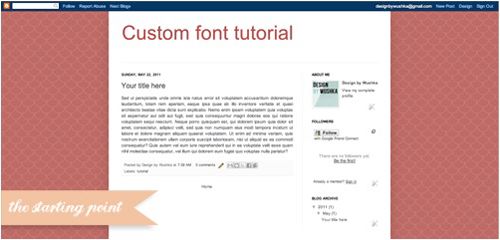
I put together a quick template that I will now start customizing. There are heaps of cool web fonts available. I recommend using www.kernest.com - they have a nice selection of free fonts, some even free for commercial use. For the blog title, I picked a font called Learning Curve Dashed and for the post titles Learning Curve.
STEP 2
Now go to the Edit HTML section in your dashboard and take a copy of your template, just in case. You can do so by selecting Download full template. Next, you should find <*/head*> in your templates HTML code. You can find it by entering <*/head*> (remove the red asterisks**) in your search field - note that Expand your widget templates needs to be selected. The search will automatically find the code for you.
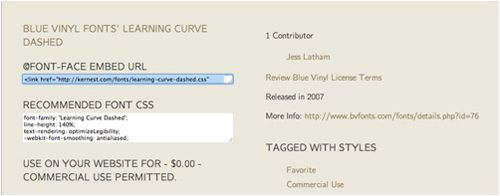
Then go back to kernest and copy the Learning Curve Dashed Font-face embedded URL (highlighted blue in the screenshot) and paste it between <*/b:template-skin*> and <*/head*>


STEP 3 - BLOG TITLE
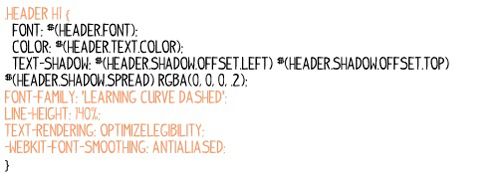
Now let's locate where in the code we need to add the font CSS. Let's locate the blog title first. Type in .Header h1 { in the search field. The code should look like this.


STEP 4 - POST TITLE
Now let's do exactly the same for the post title. We just need to locate the post title in the code. Type in h3.post-title, .comments h4 { in your search. Then copy the Learning Curve font CSS from kernest and paste it below the line, ending margin .75m 0 0; The ready code should look like this.
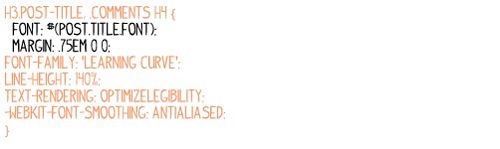
Let's again adjust the line-height from 140% to 100% - exactly like we did for the blog title. Then press save.
STEP 5 - ADJUST FONT SIZE
Now that the custom fonts are ready, you can adjust the font size from the Template Designer. Go to Advanced and select Blog title. This time, I chose the font size as 80 px. A quick note here - now that you've edited the actual code you can't see the new fonts in the Template Designer. To change your blog title font, you need to go back and edit the code. I also decided to adjust the post title font size to 30 px. And that's it! Now you've got a custom fonts for your blog and post titles. This is what it looks like now.
EXTRA STEP
If you want to do the same for you widget titles, you just need to locate the font: $(widget.title.font); in the code and copy/paste the kernest font CSS as follows.
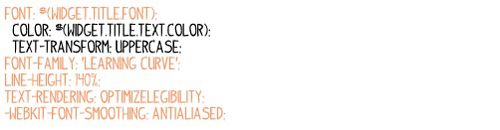
And again, adjust the line-height to 100%. Also, because Learning Curve is a handwriting font and the widget titles are in uppercase the titles aren't that readable. So I decided to adjust text-transform: uppercase; to text-transform: lowercase; so that the titles are now more reader-friendly.
Thanks, Mervi


4 Comments:
Thank you so much!! I have been trying to learn this for a while but I guess I made errors in the coding because it hasn't worked. So I am so excited to try this tutorial when I get home! Woohoo!
Thanks for sharing! I'll keep this post in mind when I want to play with my blog ;).
Have fun!
Miki.
This was extremely helpful. I am so glad you did this thank you!
This is great, there aren't enough blog posts like this. Thanks for the help :-) x
Post a Comment
Thanks for your thoughts!
xo Lisa
Note: only a member of this blog may post a comment.