• Follow on Bloglovin

14 Mar 2012

Yummy Pantones

Firstly I would like to say thank you to everyone who wrote encouraging comments and tweets about my video pitch, you're the best! Today I am handing in my application for the grant, so exciting! Then I have to wait 6 weeks before I found out... I'm gonna have to try and forget about it! But the cool thing is yesterday I went to an information meeting about this grant and found out there are two more similar organisations that I can apply to as well, and they also use video pitching so that's perfect!

Secondly, how cool are these Pantone Tarts? It might be a bit of a nerdy designer thing, but I love them! They were created by art director Emilie Guelpa, maybe he should go into food photography though cause these photos are making me hungry!


12 Mar 2012

Lisa Edoff Design Video Pitch

As requested, here's the video! I'm almost more nervous showing it to you guys than the grant people, not sure why :) Anyway, here's my business grant pitch, hope you enjoy hearing a little bit more about my dreams and goals.

11 Mar 2012

The Video Shoot!

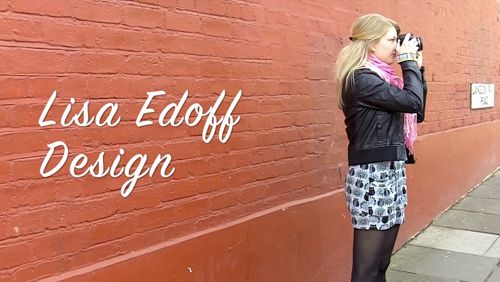
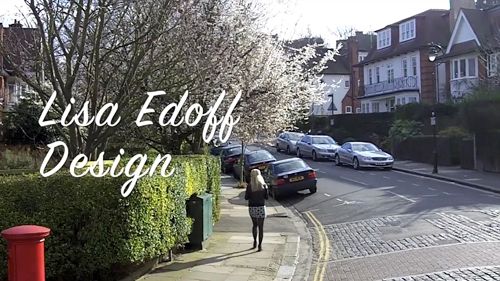
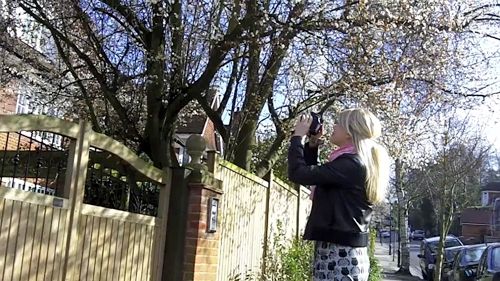
We have finished the video pitch, I'm so happy with it and excited to send it to the funding organisation! We filmed on Saturday and today I recorded the voice over and James edited and put the whole thing together, I'm super grateful for his help!
Now I've just got to specify in writing why my business deserves this grant and send it off next week.
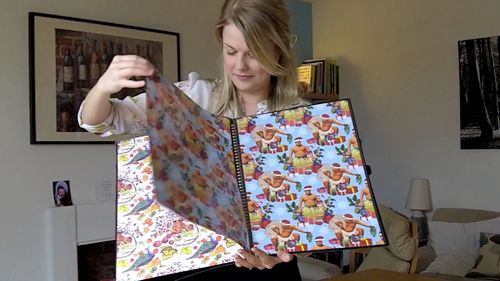
Here are some still from the video, it was actually really fun to make it!


10 Mar 2012

Weekend Plans

Happy Saturday peeps!
I'm excited for this weekend because James and I are going to work on an application for a business grant for creative start-up companies. As some of you might now I want to turn my pattern designs into products and sell them in shops and possibly online as well. This grant I'm applying to seems great because they not only give you funding but also business advice as you go along.

One part of the application is a "video pitch", I have written a script for it and we're filming it today, exciting! I'm so glad I have James to help me because he knows a lot about film-making and he's also really good at editing videos and putting on music and sound and other cool stuff!

What are your plans for this weekend?

7 Mar 2012

Red Valentino

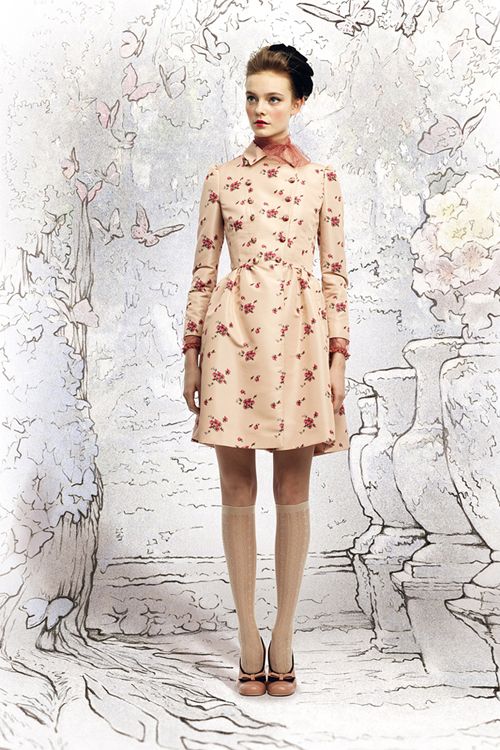
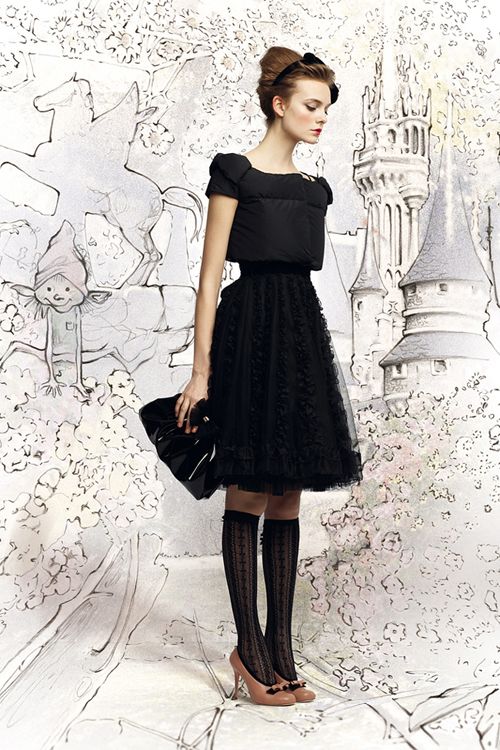
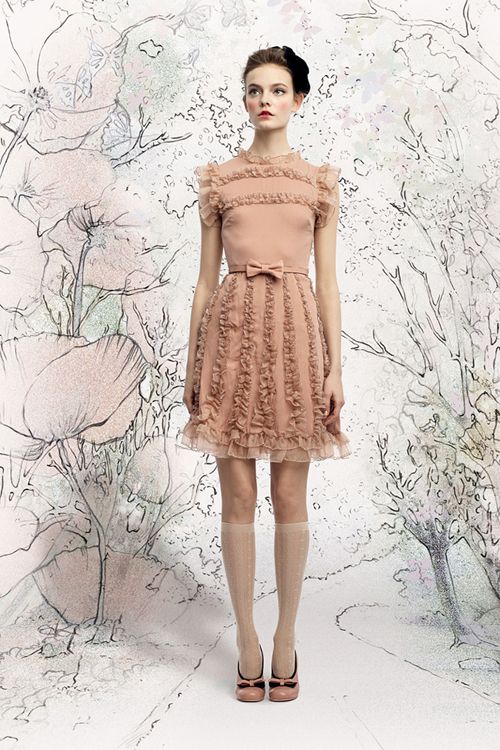
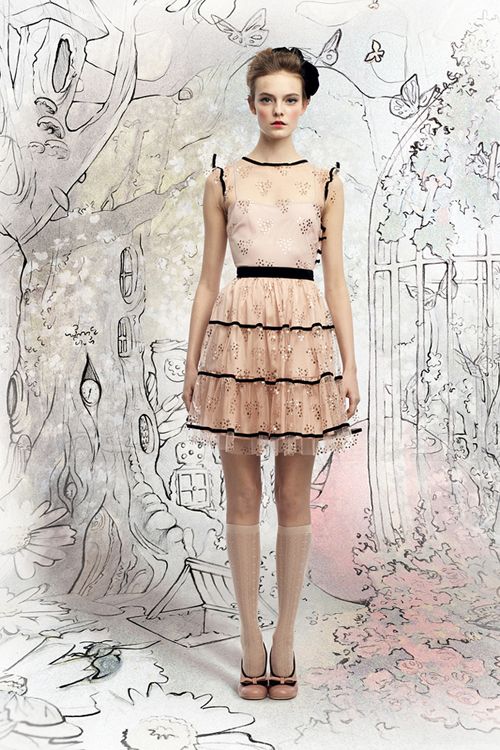
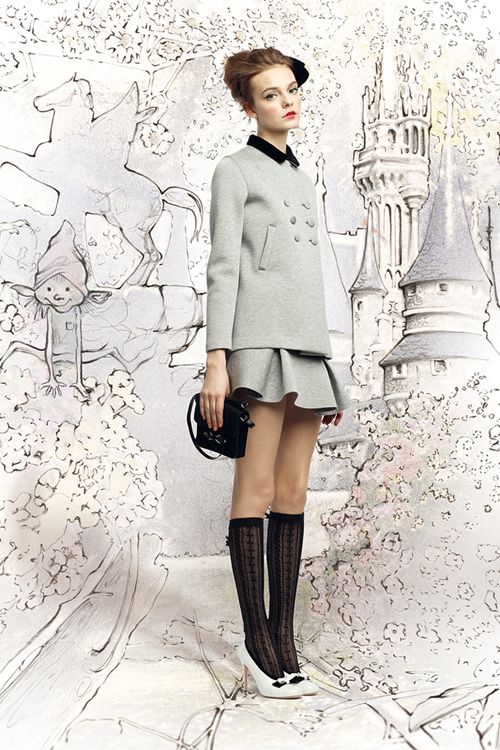
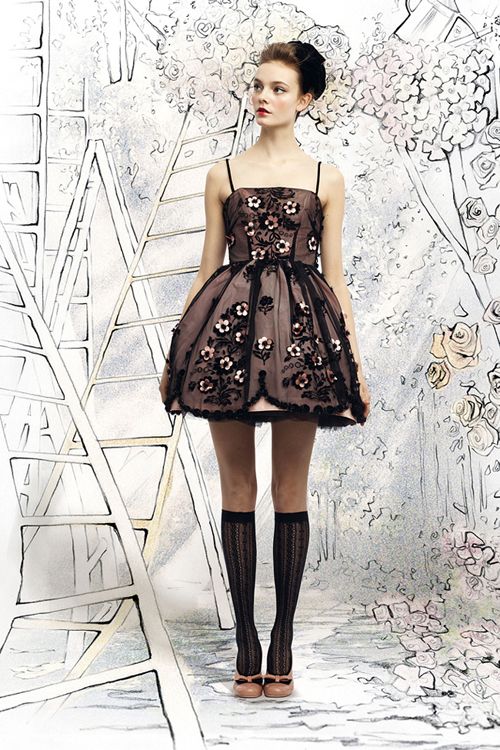
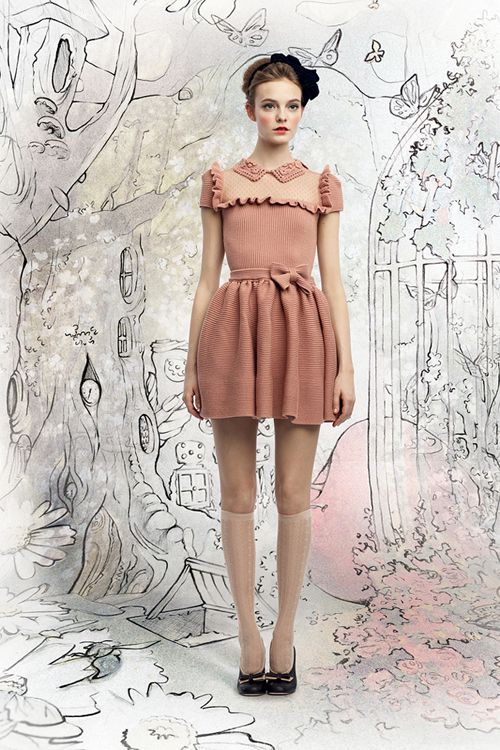
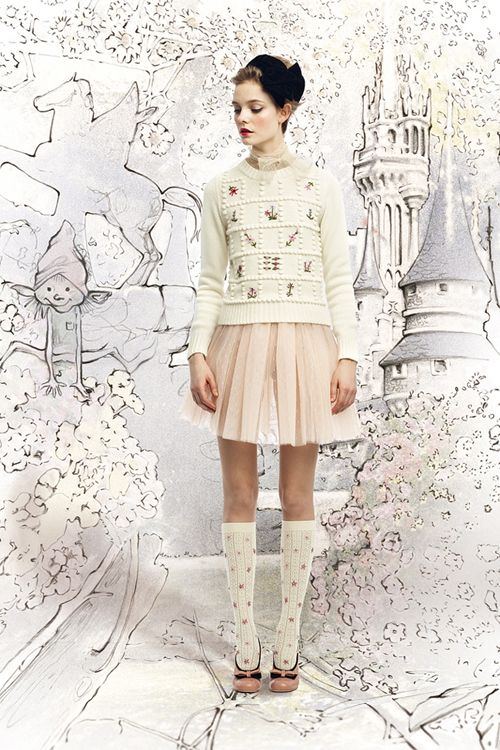
I really appreciate when fashion brands put effort into the presentation of a new collection, this Red Valentino Lookbook for Autumn/Winter 2012/13 is stunning! These styles are so gorgeous, I think Red Valentino is now officially my new favourite brand, at least for inspiration!


Images courtesy of Vogue Italia

6 Mar 2012

Magnolia Preview


Today I'm working on a new pattern design with magnolia flowers, I love them. For me magnolia have a lovely spring feeling associated with them, because where I live there are lots of magnolia trees lining the street, and they bloom beautifully every spring.

5 Mar 2012

Smashing Records

Last week was a milestone for this blog, we had a record 8,200 unique visitors and over 12,000 page views in one week! The previous record of 1,600 visits in one day was blown out of the water with a new high of 3,800. I'm so happy and I hope my new readers will enjoy A Piece of Lisa!
Thank you everyone who has shared my posts on Pinterest or on your twitter/blog, I really appreciate your support!

Today it is lovely and sunny in London, Happy Monday!

1 Mar 2012

Pretty Peacocks


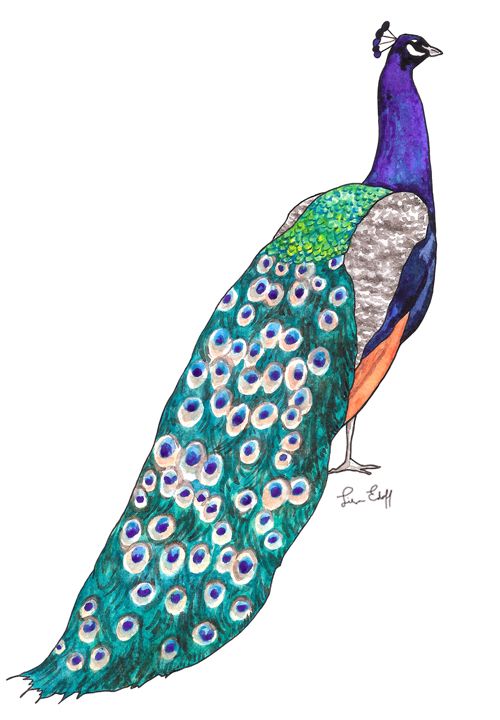
Here is a recent painting I did of a peacock. I think peacocks are so beautiful, it's amazing how nature creates such intense colours and intricate patterns.
Today I am going to work on a new pattern, inspired by spring in London, I can't wait until all the trees are in bloom! Happy 1st of March!

Ps. Check out my new sponsor Red Parka Diaries, Jen who writes the blog is also an illustrator and posts lots of lovely images!

28 Feb 2012

DIY+Recipe: How to Make a Face Cake

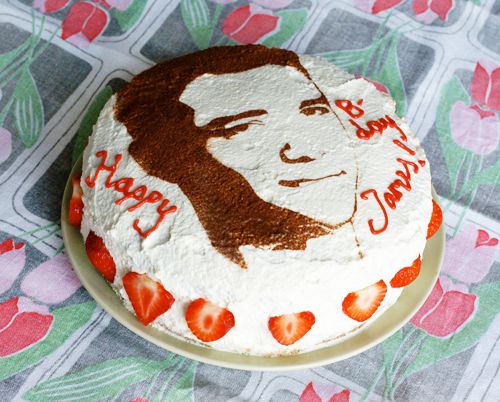
What's more thoughtful and fun than a face cake on your birthday? The answer is a homemade face cake! I came up with the idea of a homemade portrait cake when my fiancé James turned 30 a couple of years ago. I wanted to surprise him with a really special cake, but I didn't want to order a cake with his photograph from our local cake shop since they're very expensive and, in my opinion, not very tasty. So the idea of making my own cake with a picture of James was formed. After some thinking my idea came to life. Two years later our friends are still talking about that cake, it is an understatement to say that it was a success. Here's how i did it...

Step 1: The Cake
The inside of your cake can be any flavour you like, but the outside must be covered in whipped cream or a white creamy frosting. The top of your cake needs to be flat for best result.

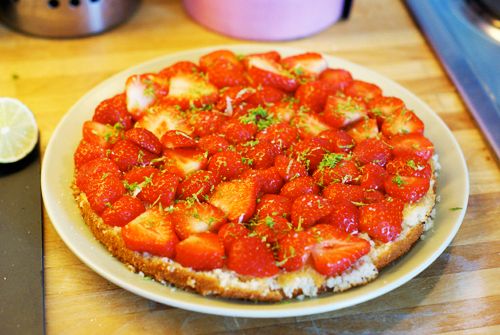
This is the recipe for my Strawberry and White Chocolate Face Cake:
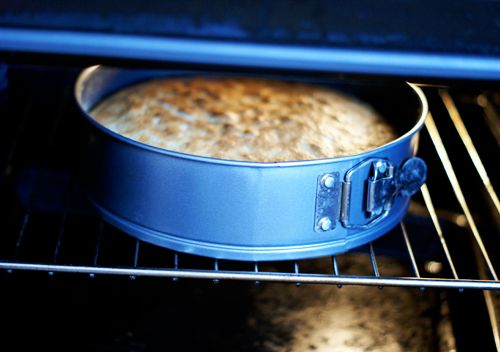
1. Make a simple sponge cake and cut it in half horizontally, or buy a ready-made layered sponge.
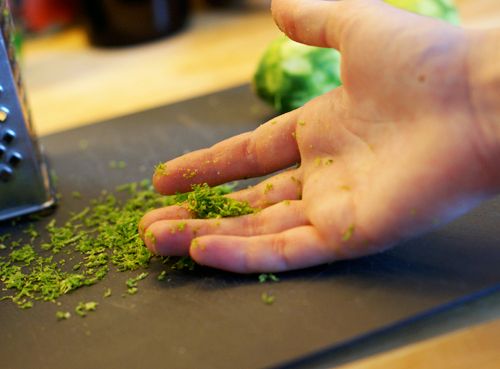
2. Grate the zest of a lime, make sure you don't get any of the white pith.
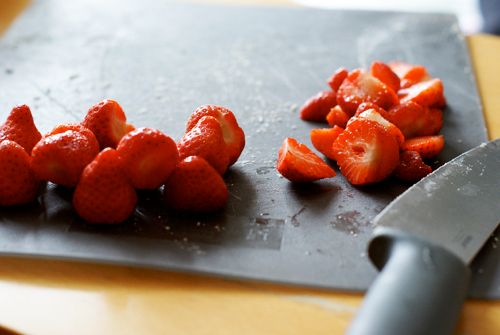
3. Slice a handful of strawberries.
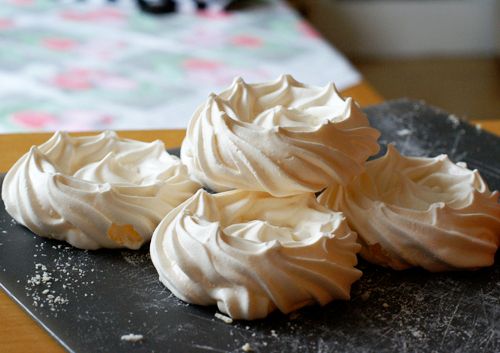
4. Break five meringues into smaller parts.
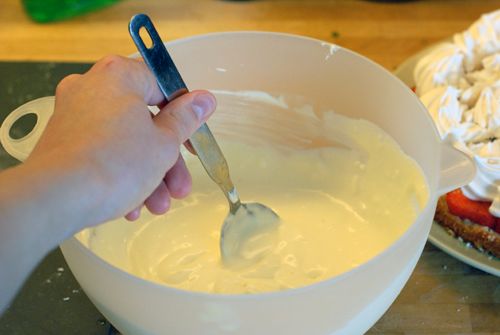
5. To make white chocolate and mascarpone mousse:
Bring 150 ml double cream to the boil, break 100 g of white chocolate into small pieces and let them melt in the cream. Stir and let the mix cool down. When it's completely cool, whisk with an electrical mixer. Stir in 100 ml of mascarpone.
6. Arrange the strawberry slices on the first layer of sponge. Sprinkle the lime zest on top.
7. Add the meringue...
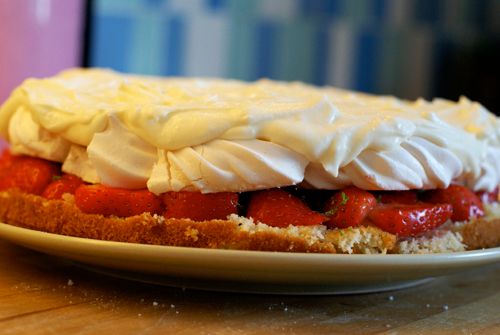
And the white chocolate/mascarpone mix.
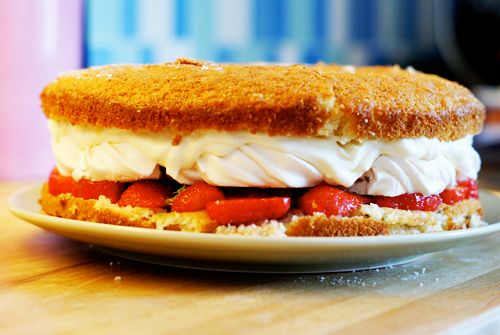
8. Place the second cake layer on top...
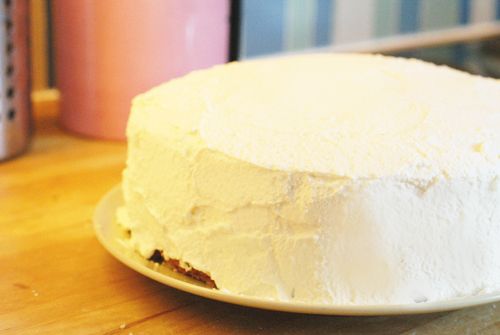
And cover the whole thing with whipped cream or frosting, I use whipped cream.

Step 2: The Face
It's takes a little time and effort to create the portrait, but it's so worth it!
You will need:
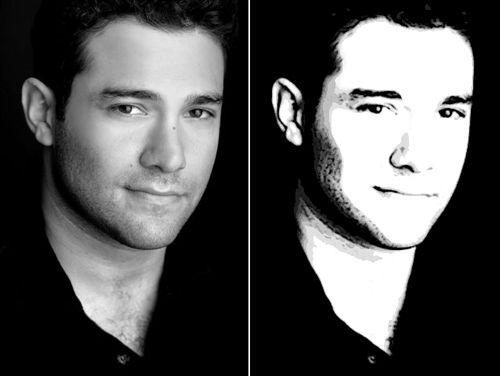
  • A good photo of the birthday person's face (good contrast and no weird shadows)
  • some kind of image editing software
  • a scalpel
  • cocoa powder
  • a sieve.
1. Start with making the photo black and white, then you want to enhance the contrast between light and dark so much that the facial features consists of dark shadows and white parts. To do this I used a filter in Photoshop called "poster edges", but you just have to play around to see what works best on your image.
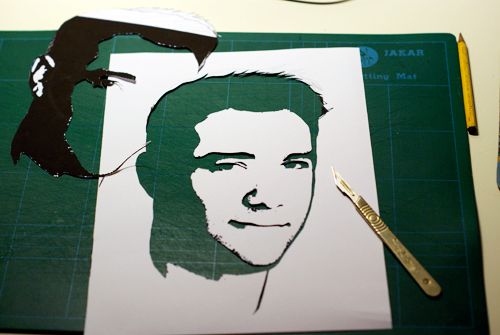
2. Cut out the dark parts with a scalpel to make a stencil. Don't worry if you make a mistake or if the face "falls out" because you have cut all the way around it (like I did), just use a little tape to fix it. Remember you are going to use the frame and the "holes", not the dark bits you are cutting out.
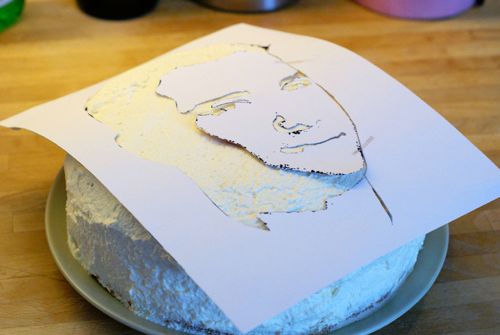
3. Place the stencil on top of your cake, or if you have someone to help you they can hold it just above the cake.
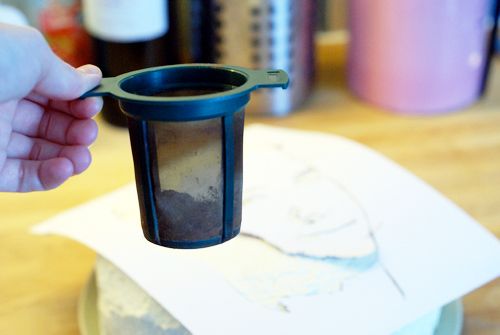
4. Sift the cocoa over the stencil, I used a tea sieve which worked really well. Don't use too much cocoa, you want a thin layer for best result.
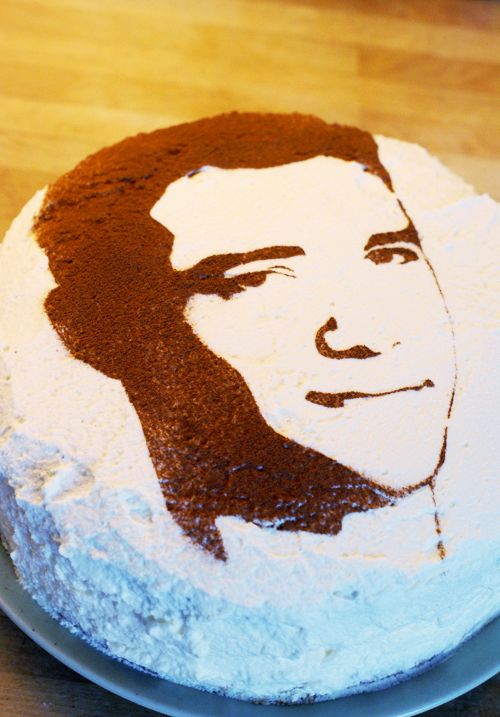
5. Remove the stencil carefully and voilà!
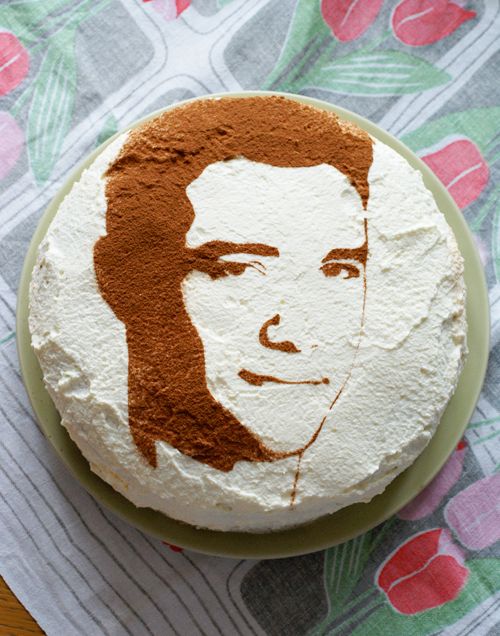
A home made portrait cake.
7. Decorate the cake as you wish, and surprise your loved one with it!
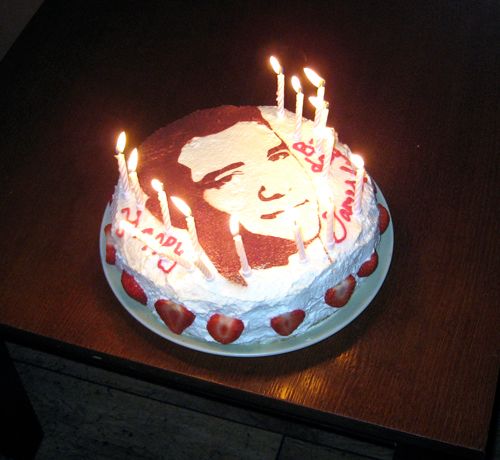
When I brought out the cake at James' party everyone was in awe and James was so excited and thankful!

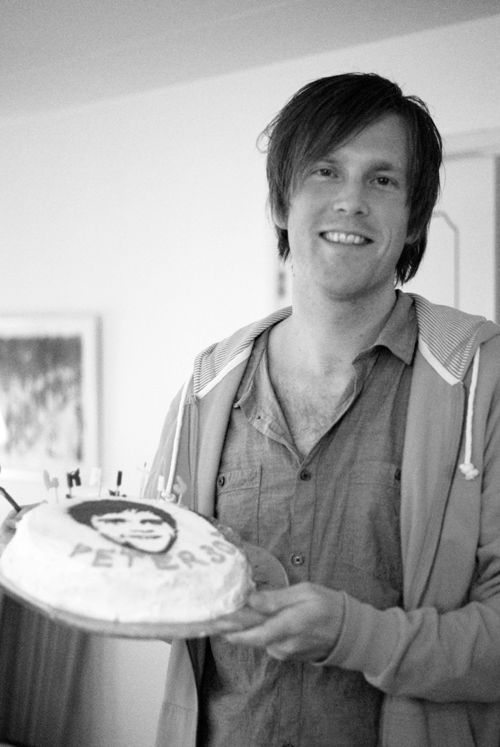
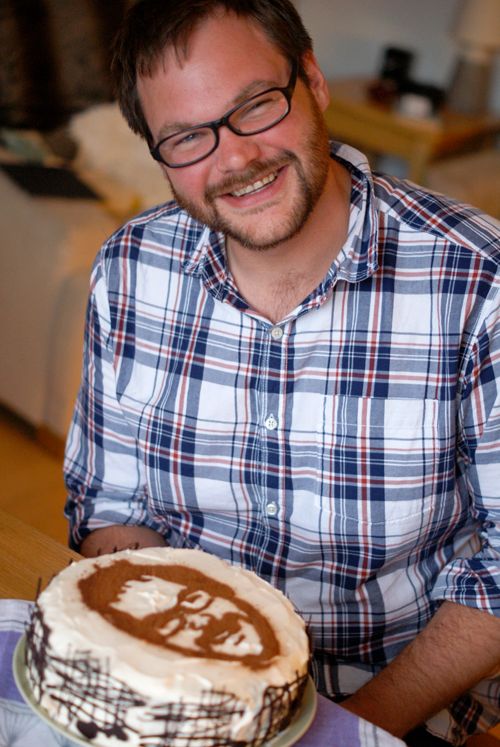
Here are some other face cakes I've made. It's so much fun to see the birthday person's reaction when you give them their cake and always very appreciated.


Happy face-caking!

Related Posts Plugin for WordPress, Blogger...