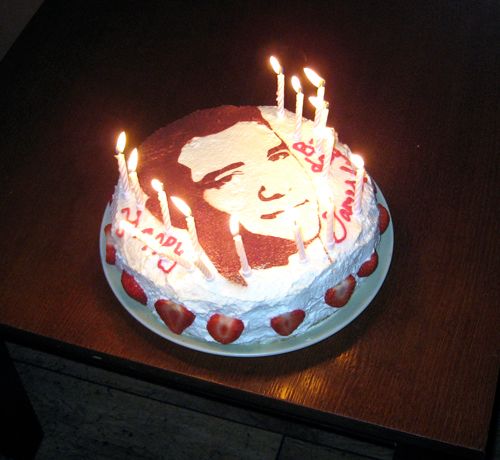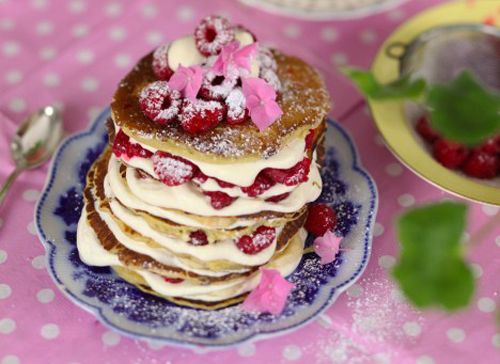
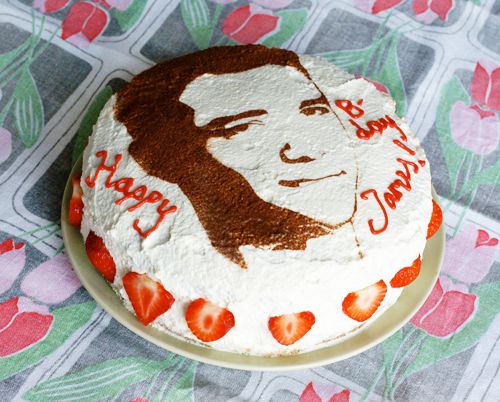
What's more thoughtful and fun than a face cake on your birthday? The answer is a homemade face cake! I came up with the idea of a homemade portrait cake when my fiancé James turned 30 a couple of years ago. I wanted to surprise him with a really special cake, but I didn't want to order a cake with his photograph from our local cake shop since they're very expensive and, in my opinion, not very tasty. So the idea of making my own cake with a picture of James was formed. After some thinking my idea came to life. Two years later our friends are still talking about that cake, it is an understatement to say that it was a success. Here's how i did it...
Step 1: The Cake
The inside of your cake can be any flavour you like, but the outside must be covered in whipped cream or a white creamy frosting. The top of your cake needs to be flat for best result.
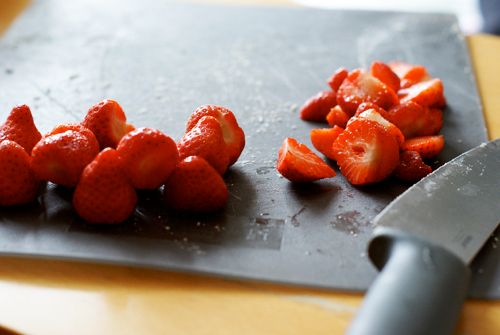
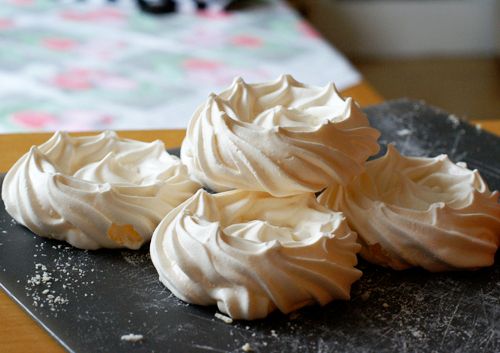
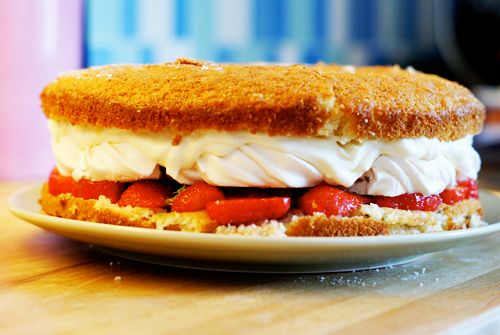
This is the recipe for my Strawberry and White Chocolate Face Cake:
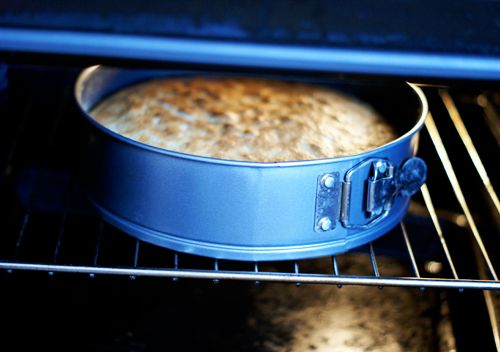
1. Make a simple sponge cake and cut it in half horizontally, or buy a ready-made layered sponge.
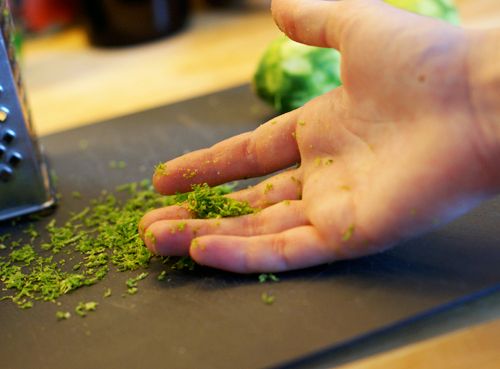
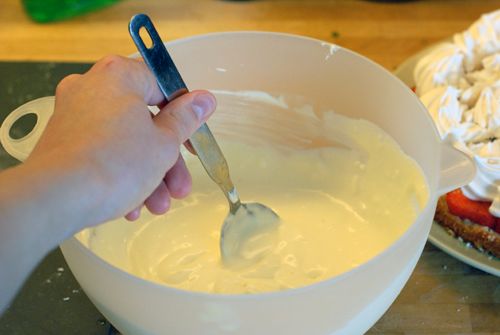
5. To make white chocolate and mascarpone mousse:
Bring 150 ml double cream to the boil, break 100 g of white chocolate into small pieces and let them melt in the cream. Stir and let the mix cool down. When it's completely cool, whisk with an electrical mixer. Stir in 100 ml of mascarpone.
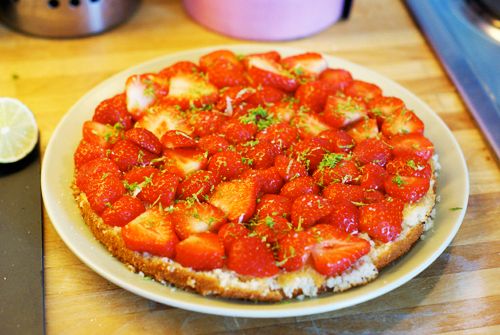
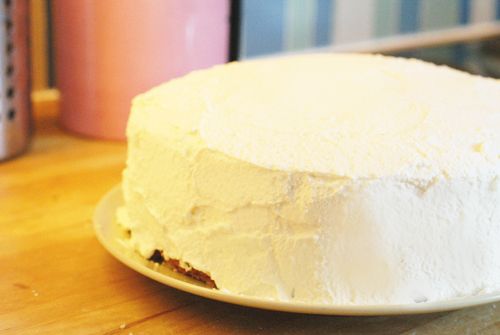
And cover the whole thing with whipped cream or frosting, I use whipped cream.
Step 2: The Face
It's takes a little time and effort to create the portrait, but it's so worth it!
You will need:
- A good photo of the birthday person's face (good contrast and no weird shadows)
- some kind of image editing software
- a scalpel
- cocoa powder
- a sieve.
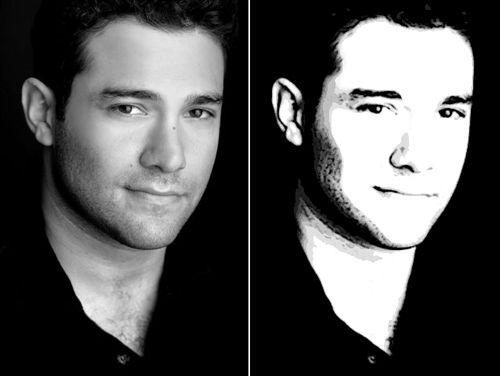
1. Start with making the photo black and white, then you want to enhance the contrast between light and dark so much that the facial features consists of dark shadows and white parts. To do this I used a filter in Photoshop called "poster edges", but you just have to play around to see what works best on your image.


2. Cut out the dark parts with a scalpel to make a stencil. Don't worry if you make a mistake or if the face "falls out" because you have cut all the way around it (like I did), just use a little tape to fix it. Remember you are going to use the frame and the "holes", not the dark bits you are cutting out.
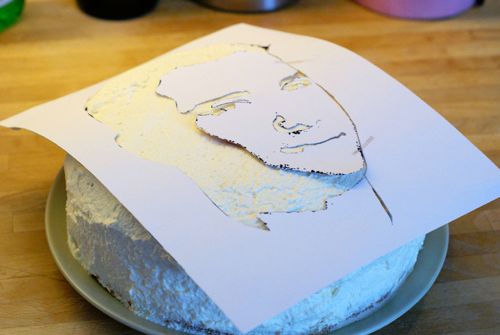

3. Place the stencil on top of your cake, or if you have someone to help you they can hold it just above the cake.
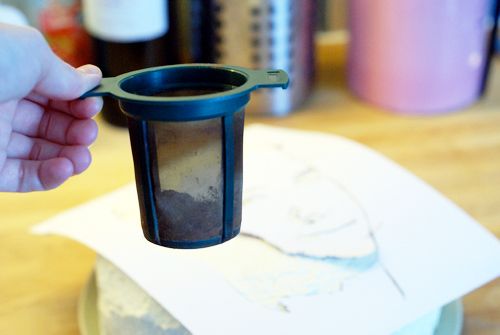
4. Sift the cocoa over the stencil, I used a tea sieve which worked really well. Don't use too much cocoa, you want a thin layer for best result.
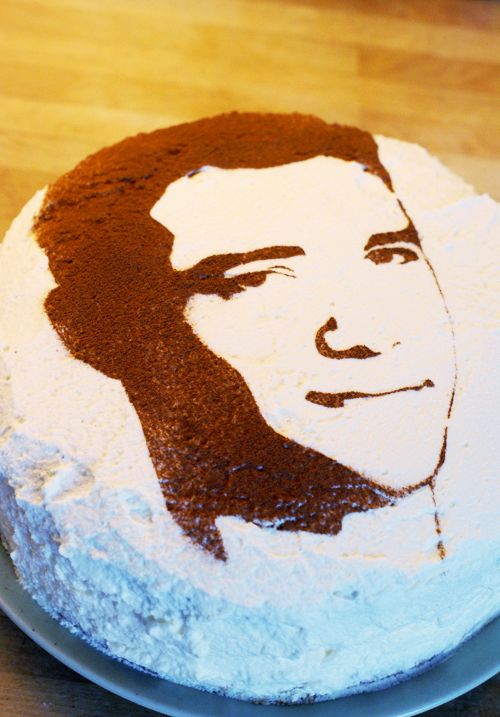
5. Remove the stencil carefully and voilà!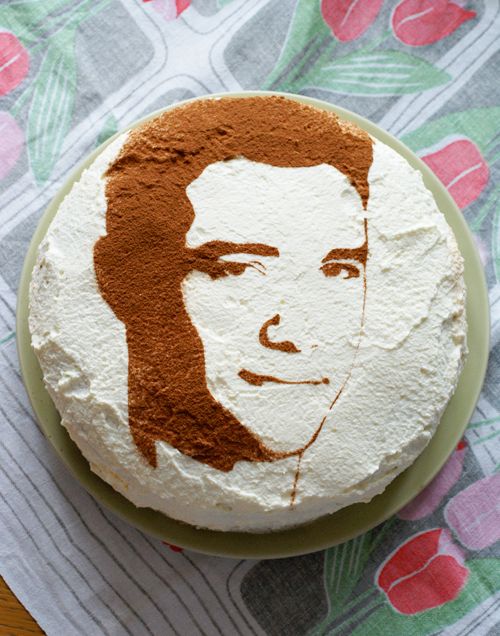

A home made portrait cake.
When I brought out the cake at James' party everyone was in awe and James was so excited and thankful!
Here are some other face cakes I've made. It's so much fun to see the birthday person's reaction when you give them their cake and always very appreciated.
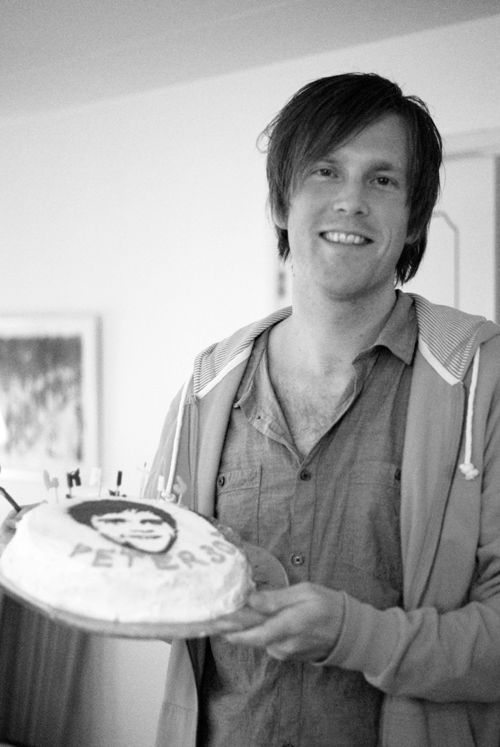
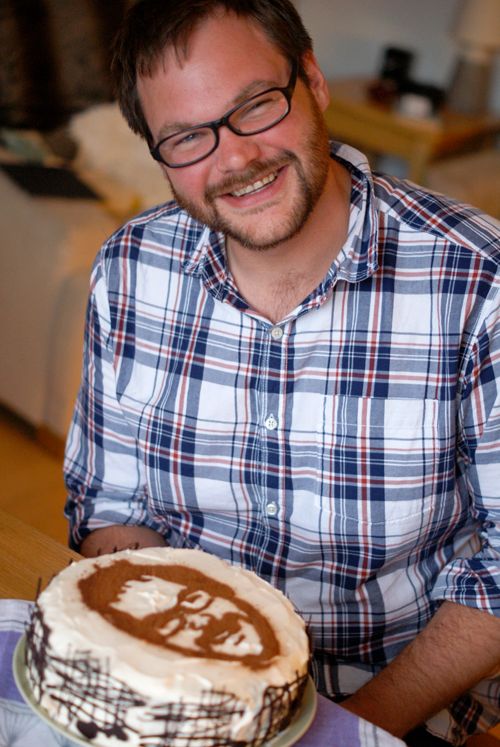
Happy face-caking!


